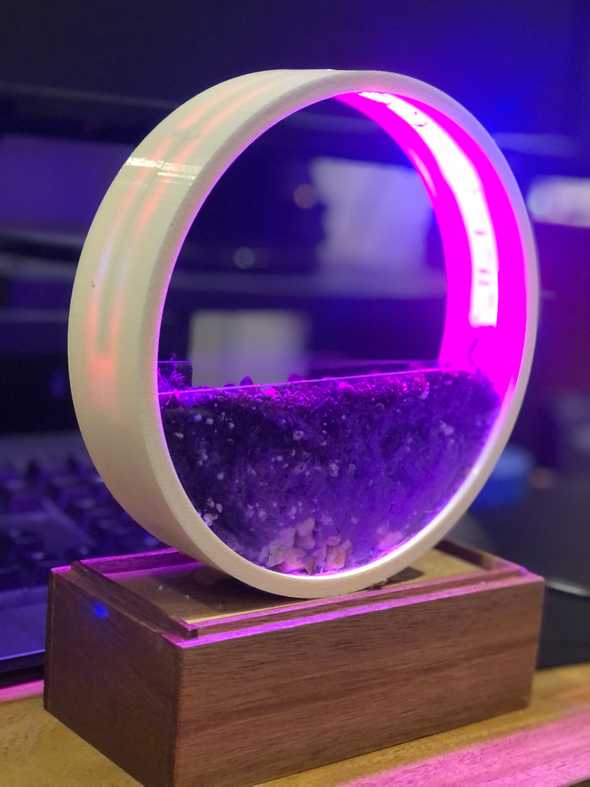
CAD For Virtual and Reality Final Project
May 06, 2021
Ring Light
CAD Video
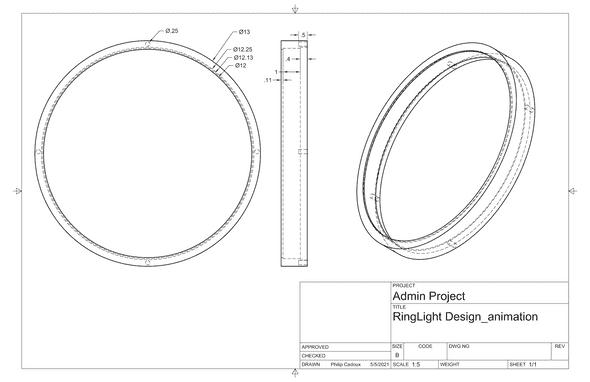
CAD Schematic
Fabrication
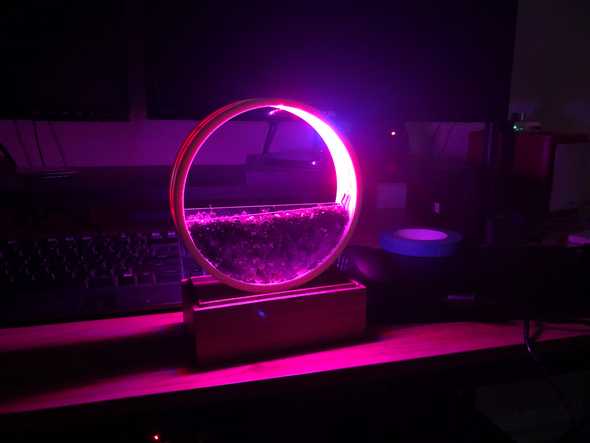
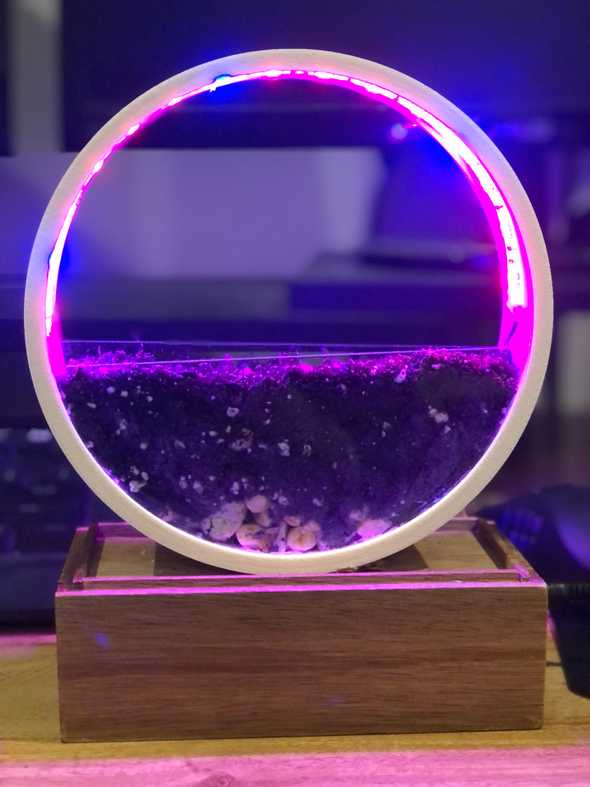
Fabrication took a little bit of time here, I am not 100% confident in this process. However, the prototype here looks quite nice.
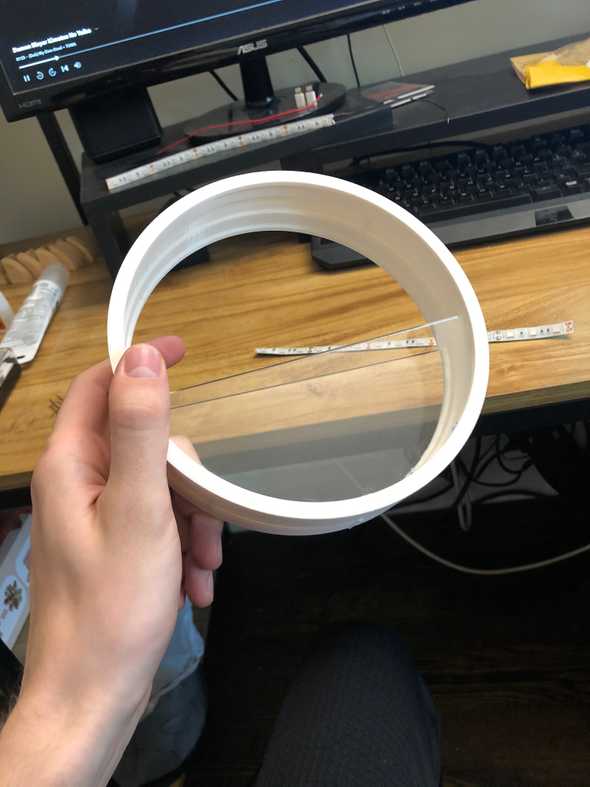
First, I decided to 3D print the rings. I had to reduce the size by 50%, but overall I am happy with my decision.
The first thing I had to do was drill the holes that were printed with a 1/16 drill bit. Due to the fidelity of the 3D print, they were unusable otherwise, but this plan worked great.
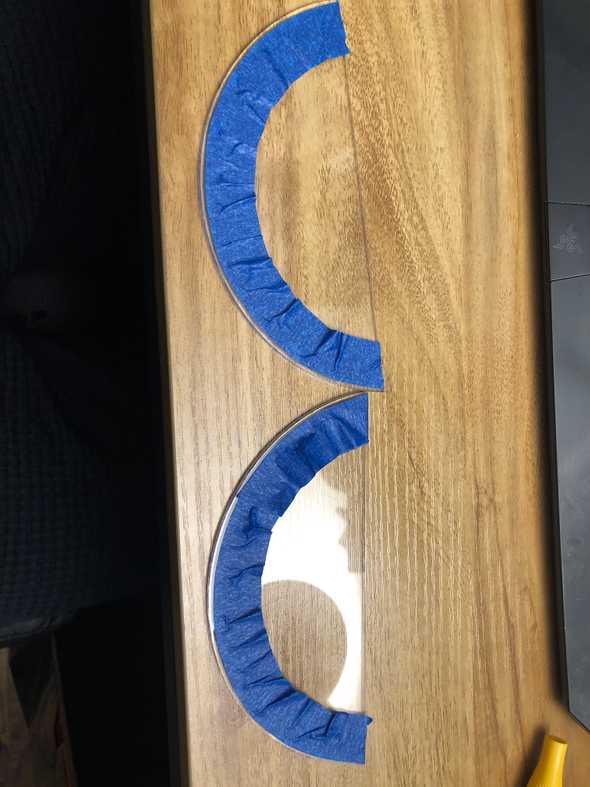
Next, I laser cut the Acrylic sides. After testing some adhesives, I discovered that super glue, then silicone grout would be the most secure and water-tight. So, I taped up the acrylic to stop any visible bleed into the acrylic.
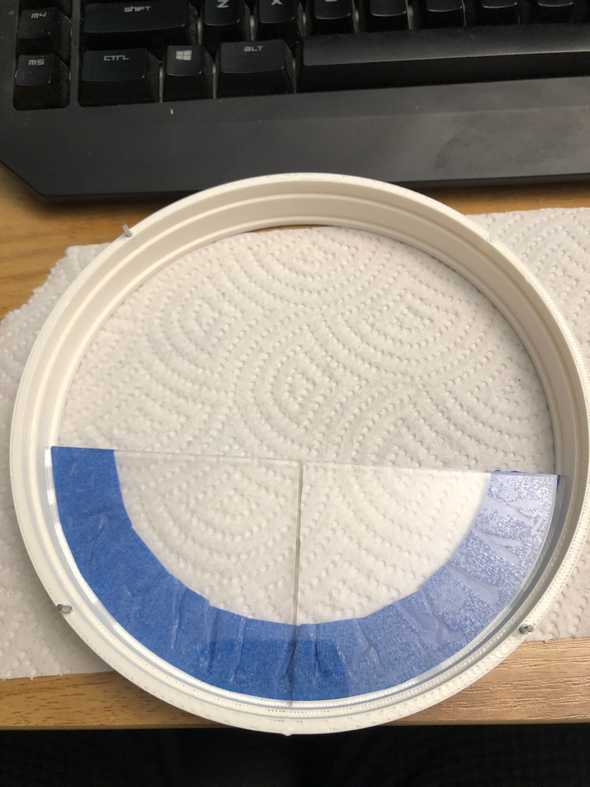
I adhered the acrylic, then mounted the sides.
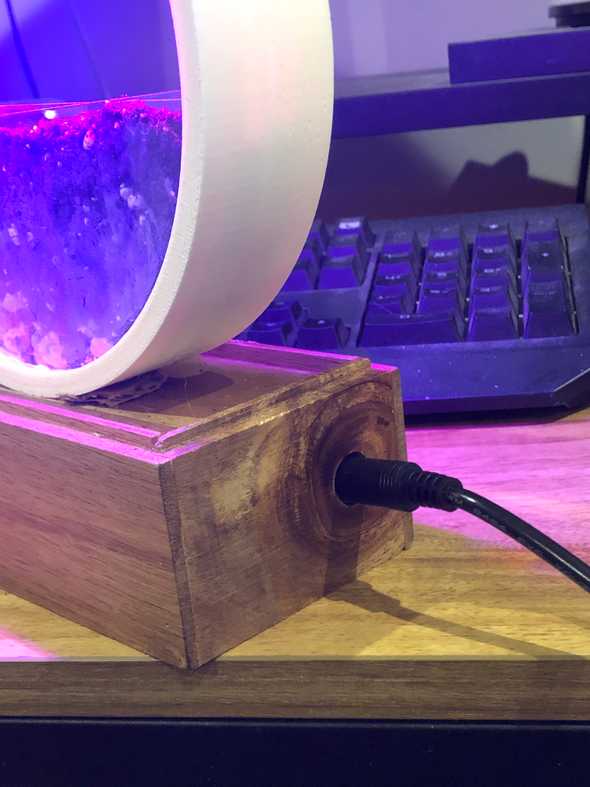
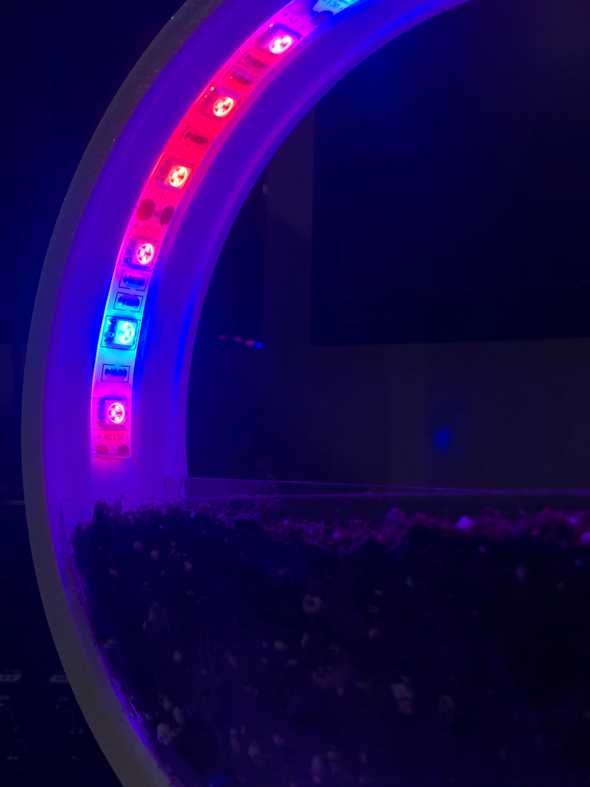
Next, I used a box from the container store as the base. I secured a bolt, the circuit, and the power supply within it then mounted the lights. After that, I was all finished!!
Written by Philip Cadoux, current ITP student and Creative Technologist. Follow me on Instagram

