CAD For Virtual and Reality: Midterm - 4 Bar Linkage
March 18, 2021
Bottle Opener
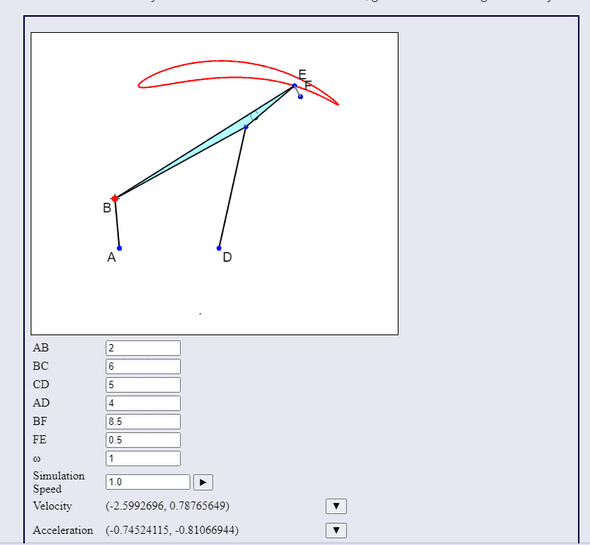
Initially, I set out to build a 4-bar linkage that would turn the page of a book. The pattern I devised looks like this:
This is well and good, I think that the actual path is fine, but I ended up having to change my idea for a reason I will explain later.
Initial Issues
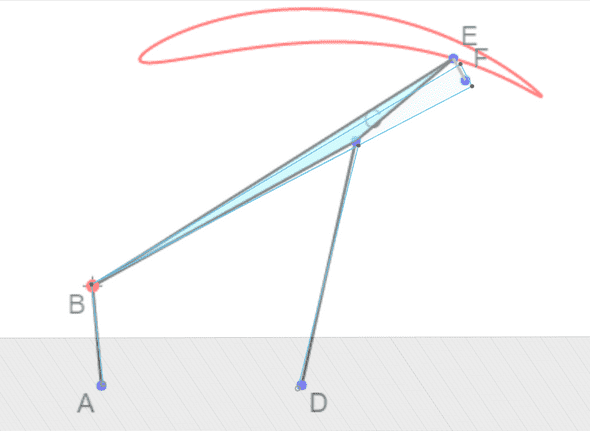
While I was starting this project, I had a lot of issues with making the linkage work. Whenever I would dimension the piece, it would get very stuck on the bottom.
It turns out that this occurs because when dimensioning, I actually dimensioned relative to the floor. Once Ben pointed that out, I was able to fix the issue.
I then ran into some trouble with the shape. Basically, I couldn’t make the end effector follow the path. This was because I got a little lost in how the shape would be. Many of the in class examples had the connector between points A and D, but mine was off in its own area. This meant I needed to add more geometry in order to fix the issue. I added triangle BFE and it all worked.
Impossible Movement
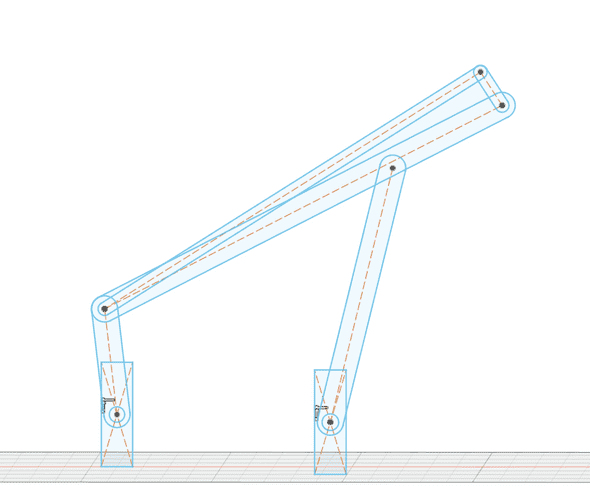
After I made slots and extruded them, then connected all of the joints, I ran the motion.
As you can see from the video, there is clipping between the grounded edge and the armiture. This is that very classic “CAD Lies to you” moment. This works visually, but if I were to produce this, it would never work.
I took a few minutes to figure out exactly what I wanted to do to fix this and eventually settled on moving the entire structure in front of the grounded part.
Changing the Idea
This is when I realized my idea needed to change. The way this 4-bar linkage is situated makes it impossible for it to actually touch a book in the right location.
I figured that if I were to flip it over the X axis, then mirror the structure, it would work.
Unfortunately, joints will not flip or mirror with the rest of a structure, so I had to re-strategize.
I noticed that my motion is a slow approach, then a stark and sudden flip upwards. This make me think that I could use it to flip something, or, what I eventually decided on, was to open bottles.
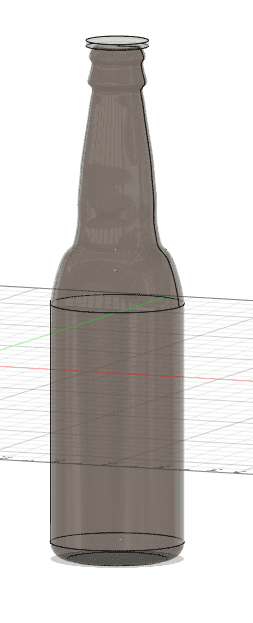
Making the bottle.
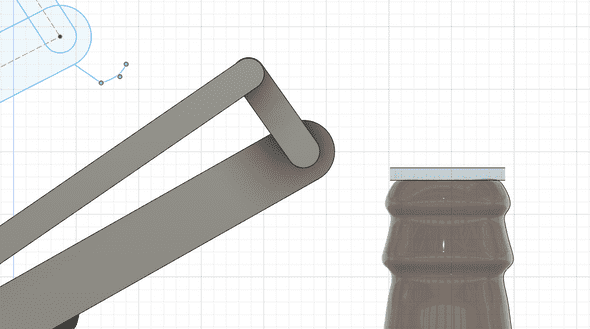
I used a reference image, the fixed point spline tool, and a revolute extrusion to create this:
I then situated it right underneath the structure while I crafted the hook that would detach the cap.
Cover
Something I wanted with this was a novelty feeling to it. I could have gone in a direction of elegance or an industrial modern approach, but i thought about who would have a 4-bar linkage bottle opener and all I could think was “Dad at a BBQ”
Because of this, I thought it would be nice to cover the linkage, but keep it open in the back for conversation.
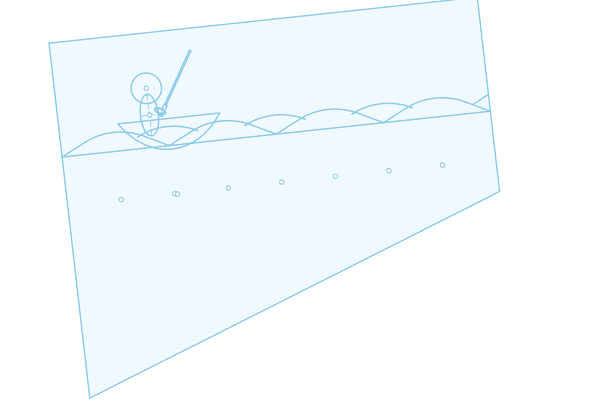
As such, my idea was to create a little scene. I decided to make a man on the water fishing. The idea is that you would tie a string to the end of the rod and the hook and it would move while the linkage motions.
Unfortunately, this won’t stay level while it moves because it needs to be in line with the linkage.
But, I wanted to try and adjust for that. So, I added an additional linkage on the long arm. From this, I wanted to create a way for it rotate within a fixed circle and keep the cover level. I attempted it, but couldn’t quite wrap my head around it.
Final Touches and Video
I wanted to make the linkages look a bit like they were beams coming out of the water. I found a “3D Oak” texture and I was able to fillet the attachments and links so that they felt like weathered wood.
I also made the two visible linkage bolts reminiscent of life savinig devices.
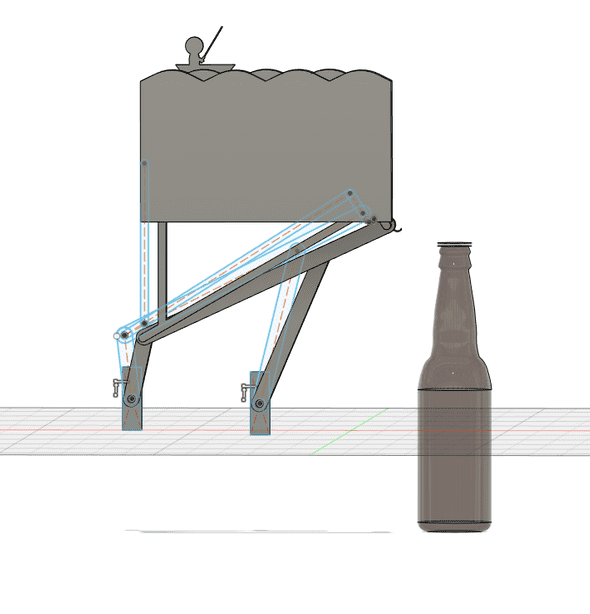
Here is my linkage:
