Intro to Fabrication: Week 02
April 07, 2021
Essential Oil Diffuser
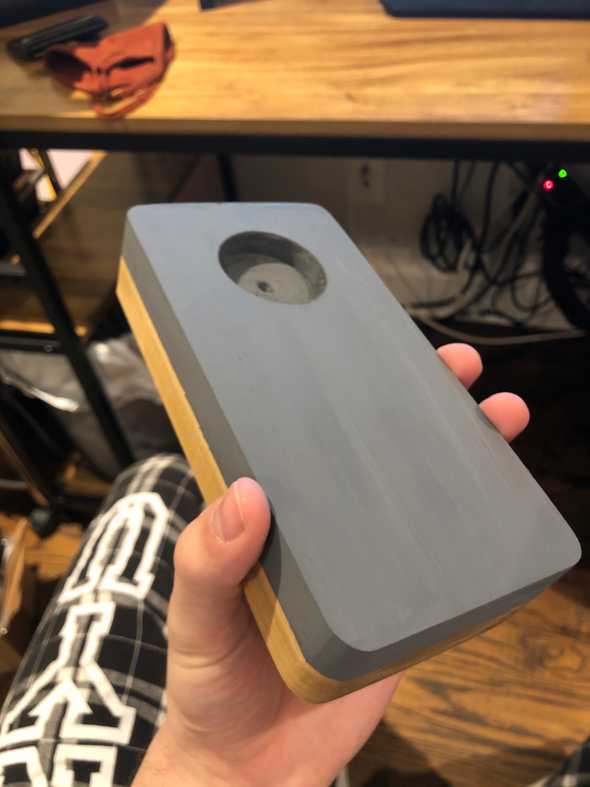
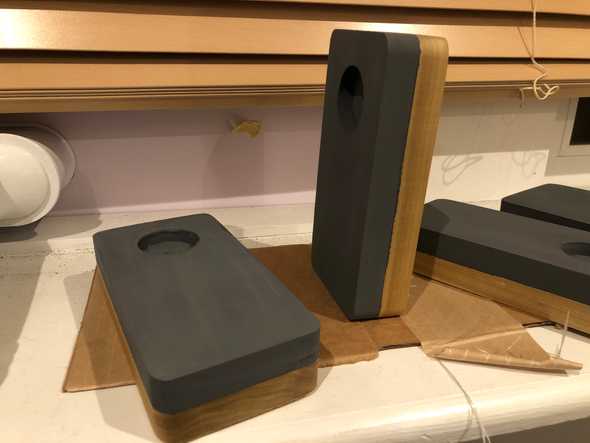
An essential oil diffuser crafted by burning a candle underneath a 100ml beaker. These are popular on platforms like Etsy, this is my take on the product.
Rods and Beakers
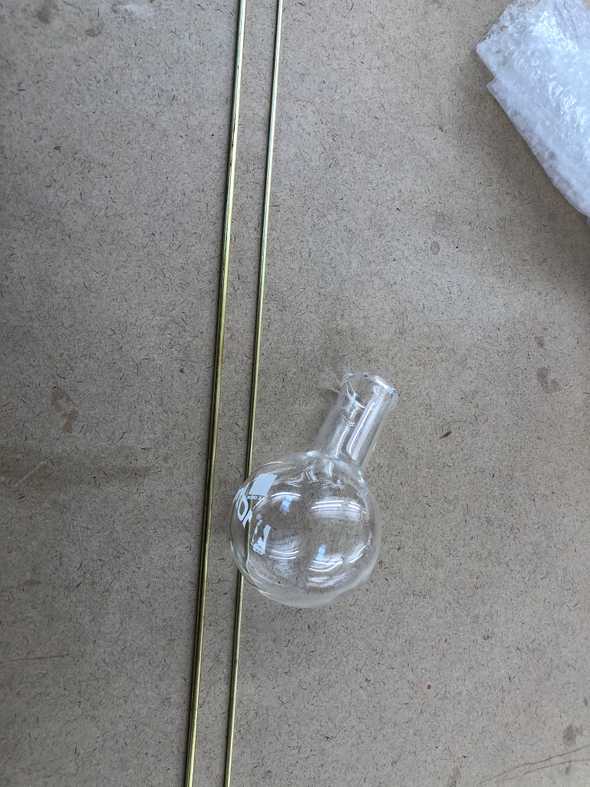
First, I knew I needed to spend some time seeing if my beaker idea was even feasible. I quickly ran to the store and got a couple rods of wire.
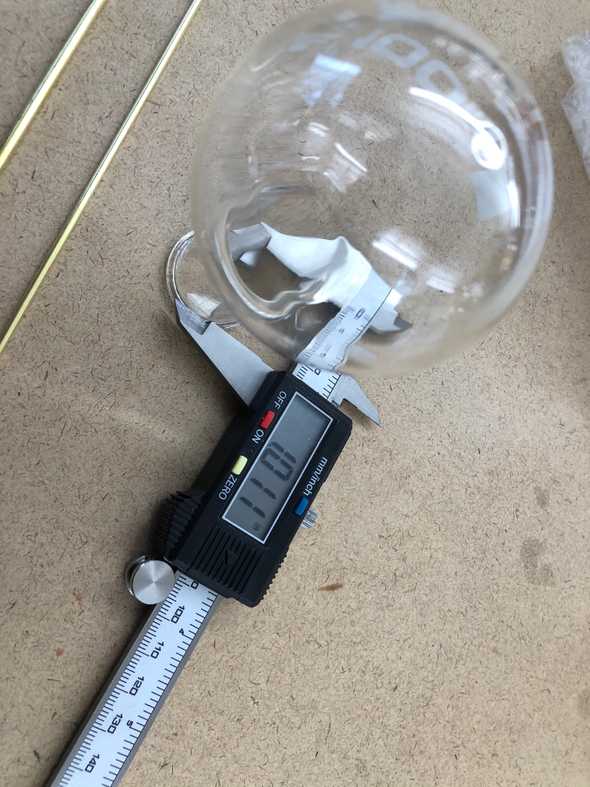
I then measured the inner and outer diameters of the beakers I got, but I didn’t end up using it aside from getting rods to bend my wires around one.
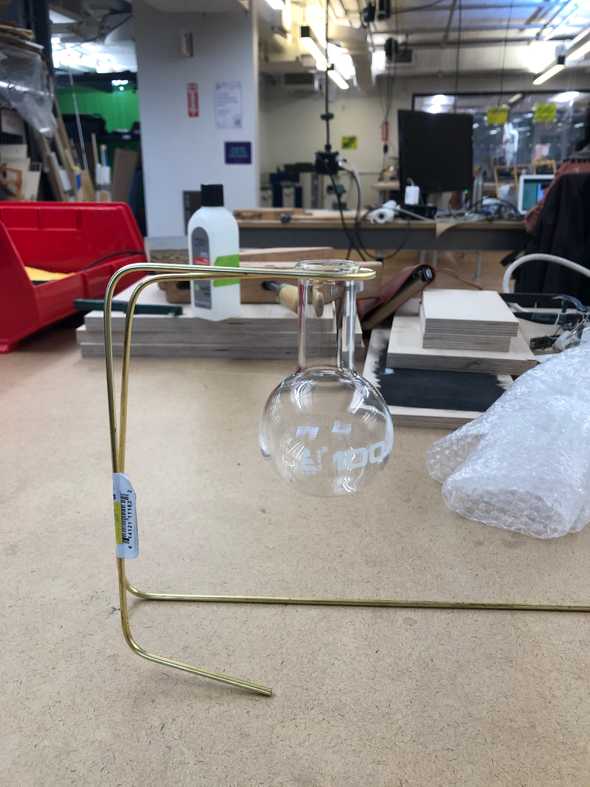
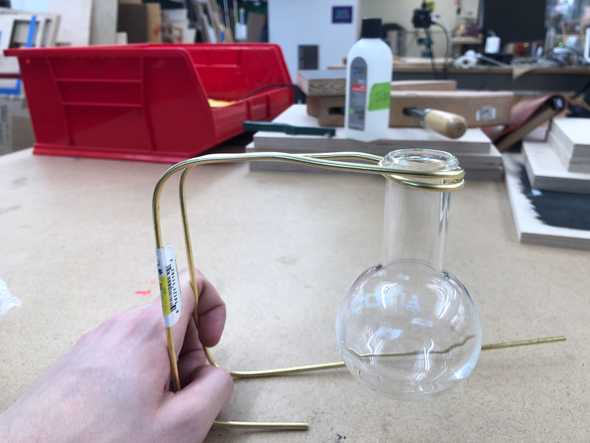
Here are some tests of the rods properly supporting the beakers.
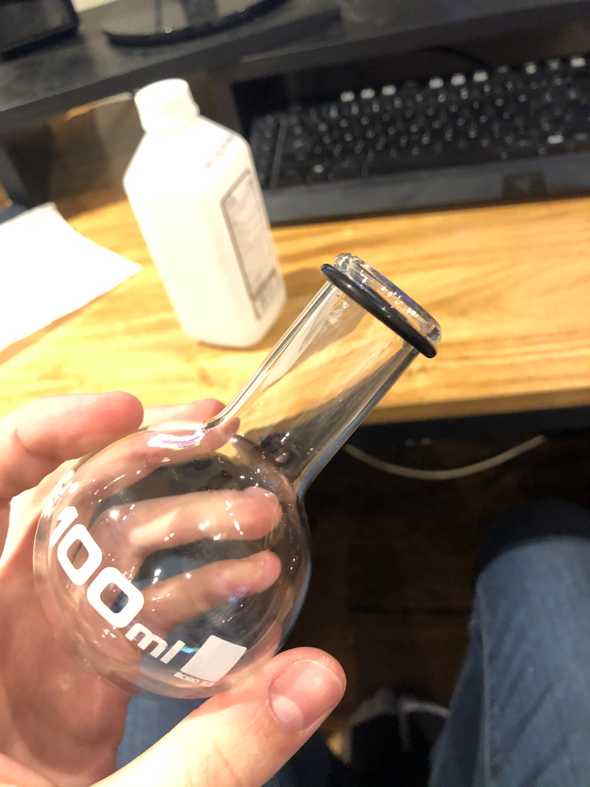
Then, I decided I wanted a little more friction for support and acquired some O-rings (1 1/8in diameter).
I also tried to wipe the lettering off of the beakers with isopropyl alcohol, but it didn’t work. I think maybe Acetone could work.
Woodworking
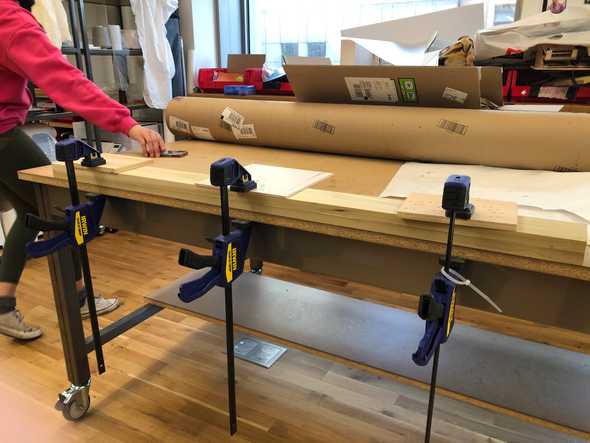
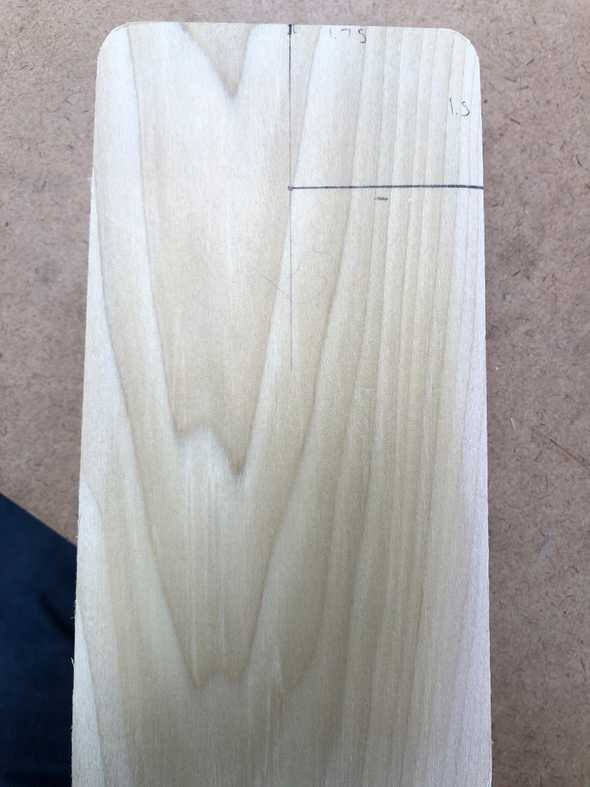
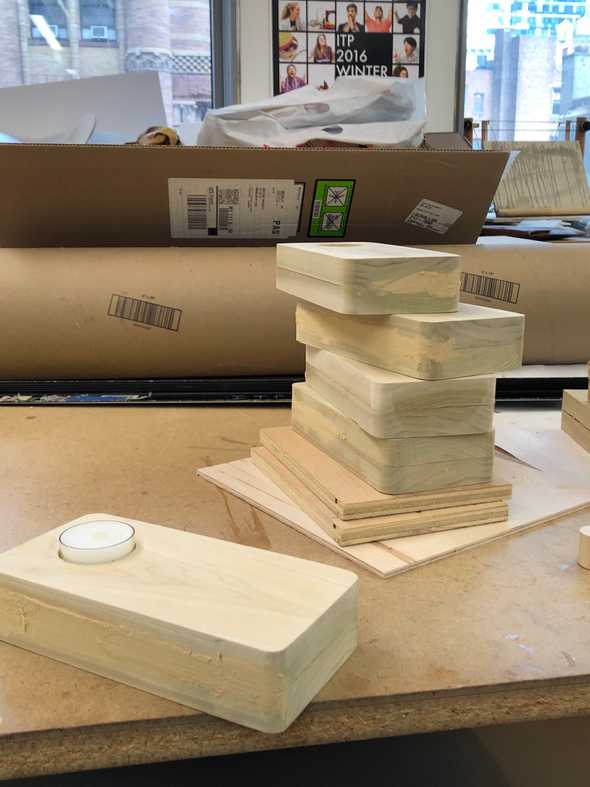
So, firstly, I needed to clamp some poplar wood pieces together with wood glue.
There was an issue with this, but I will go into that in a bit.
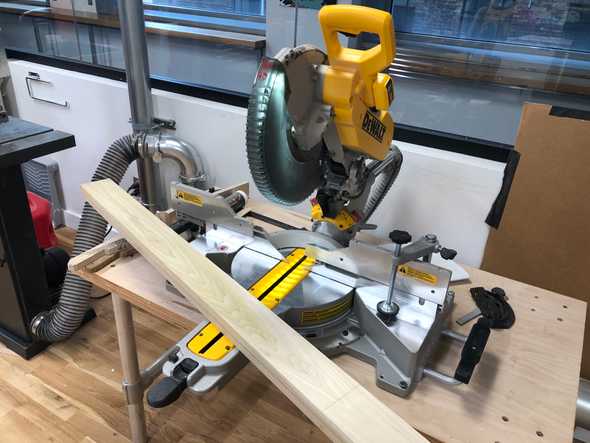
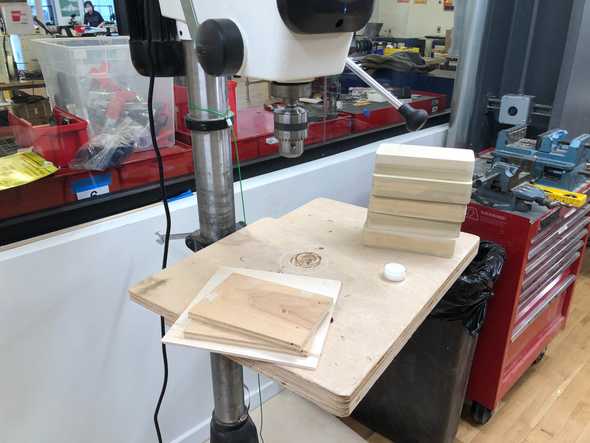
I then moved everything to the Miter saw.
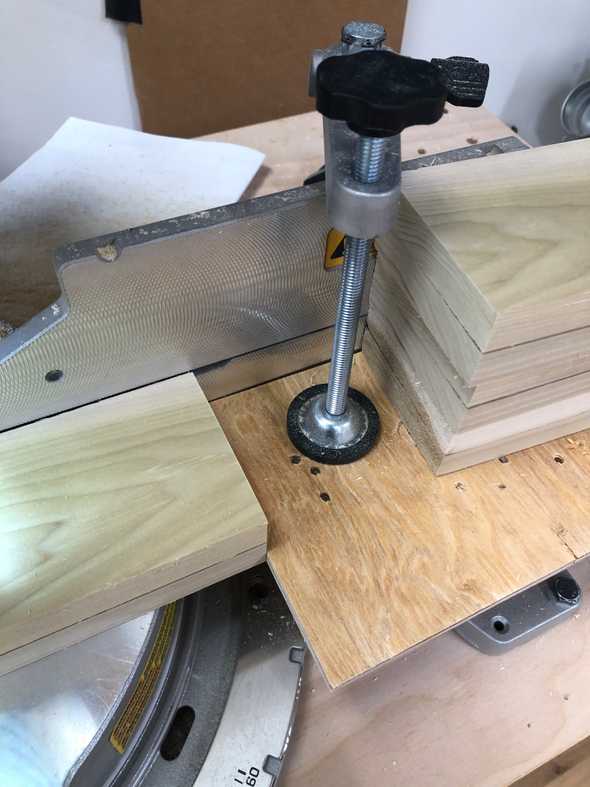
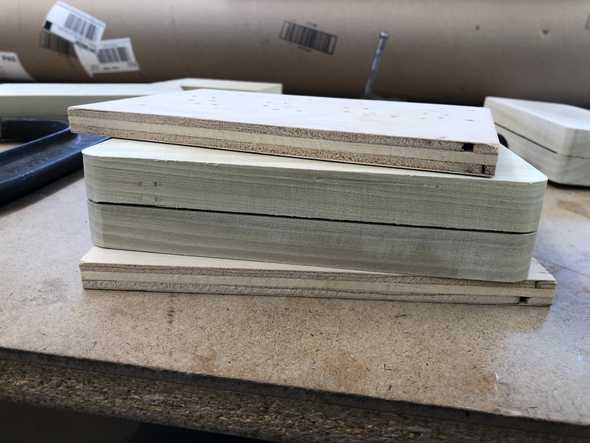
I measured out 1 length of the diffusers, then clamped down some scrap so that all of the lengths will be identical.
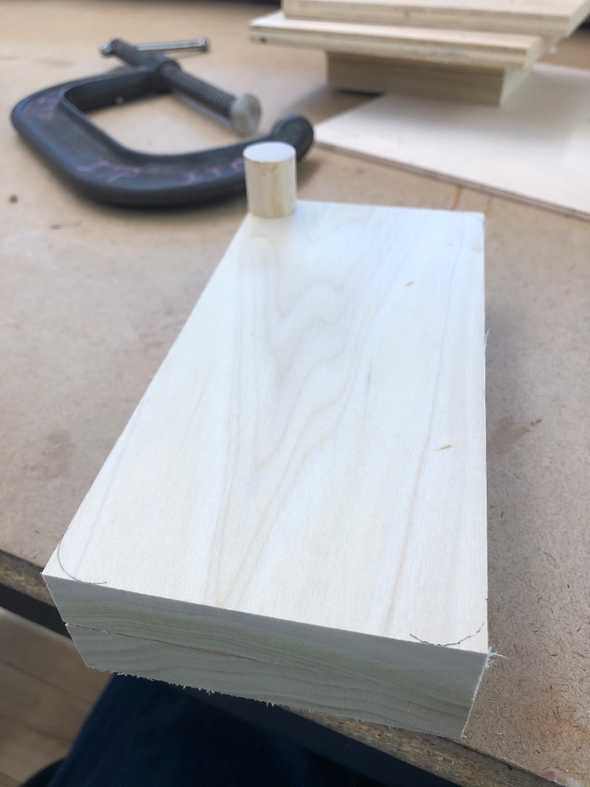
From here, I wanted to round all the corners. I took a round piece of wood and approximated the curvature of every corner to mark where to stop sanding on the power sander.
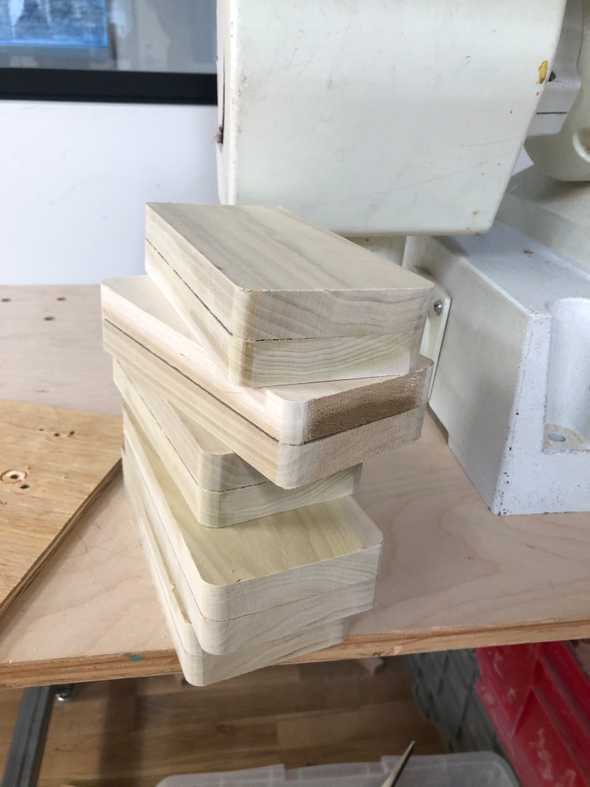
I didn’t take any footage of this (safety first!), but I took the wood pieces to the round sander to get the curvature, then the belt sander to smooth it out a bit. I now realize that this isn’t a super accurate way to round edges the same way on 5 pieces, but its hard to tell the difference.
I knew that I failed my clamping already, but had hoped I wouldn’t mind. It seems that I clamped my wood a little too far to one side instead of the middle, so there was a ravine between the two boards. It was going to be a huge issue later on, so I had to fix it.
Initially, I spoke to Schuyler on the floor and he suggested some quick drying super glue and intense clamping.
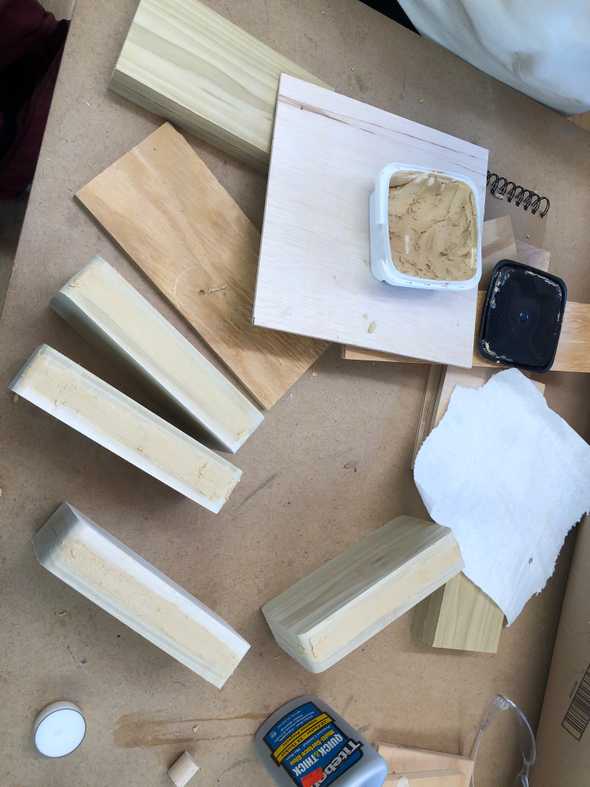
I used some INTENSE clamps and clamped it down to dry. It did work, but Junoh came out of nowhere and was like “want wood filler”? and saved me hours.
This was a way faster method and allowed me to take everything to the drill press sooner.
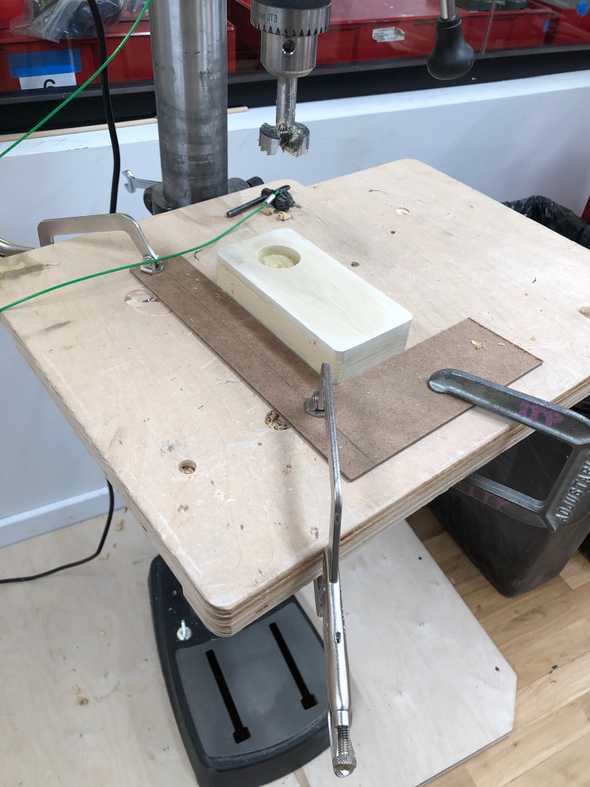
I aligned everything, clamped down a pseudo-jig, set my depth, grabbed a drillbit, then got to work.
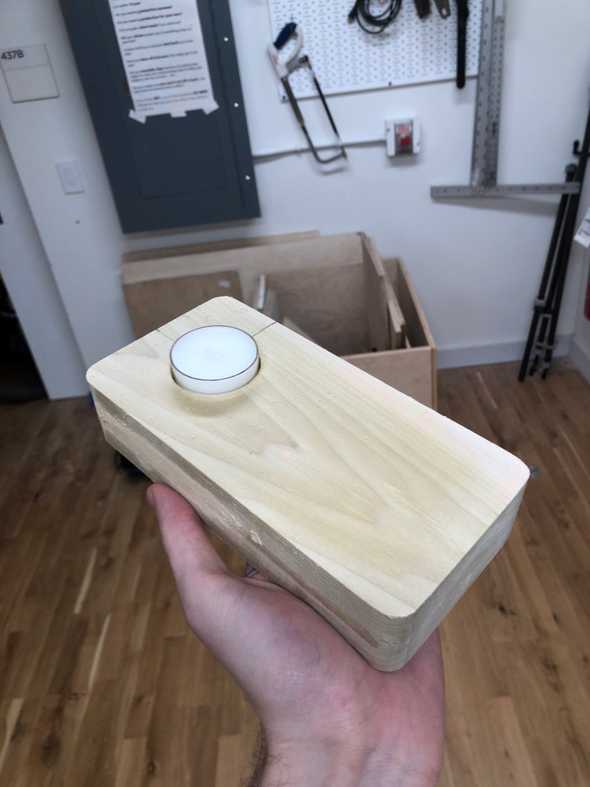
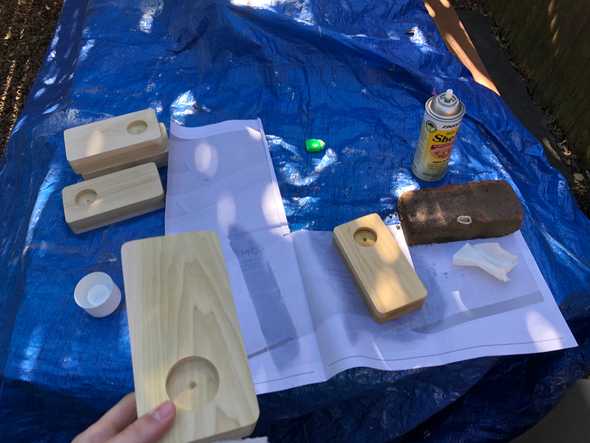
Here is my pre-finished wood!
Finishing
I wanted to seal the wood and give it a sheen, so I wanted to use Polyurethane to darken and shine the wood, as well as make it smooth. But, the cure time is about 24 hours and time was of the essence here.
As such, I used a shellac spray to just make it a bit smoothed, more sturdy, etc.
I let it dry, then it was painting time.
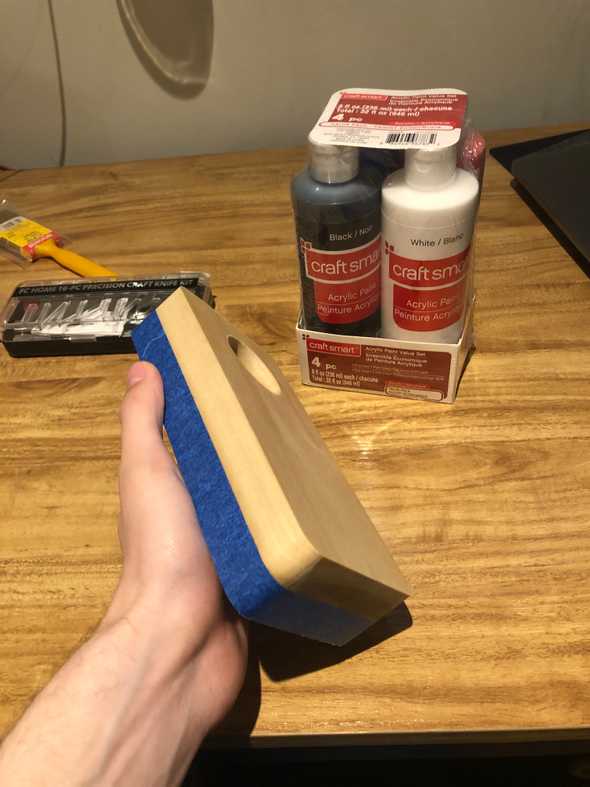
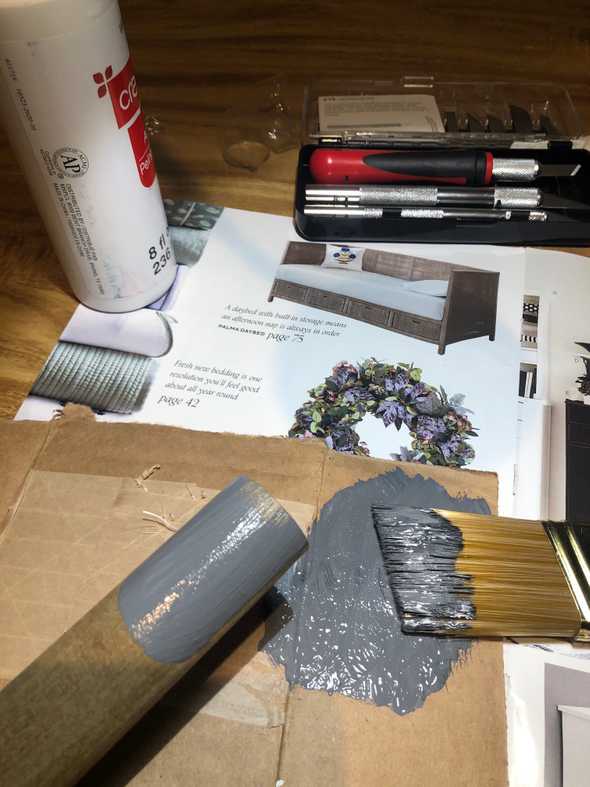
First, I taped everything off so it wouldn’t look messy (there was a little bleed), mixed the paint (1 part white, 1 part black for consistency), tested it, then put it on my wood.
Written by Philip Cadoux, current ITP student and Creative Technologist. Follow me on Instagram

