Intro to Fabrication: Week 04
April 21, 2021
Solar Enclosure
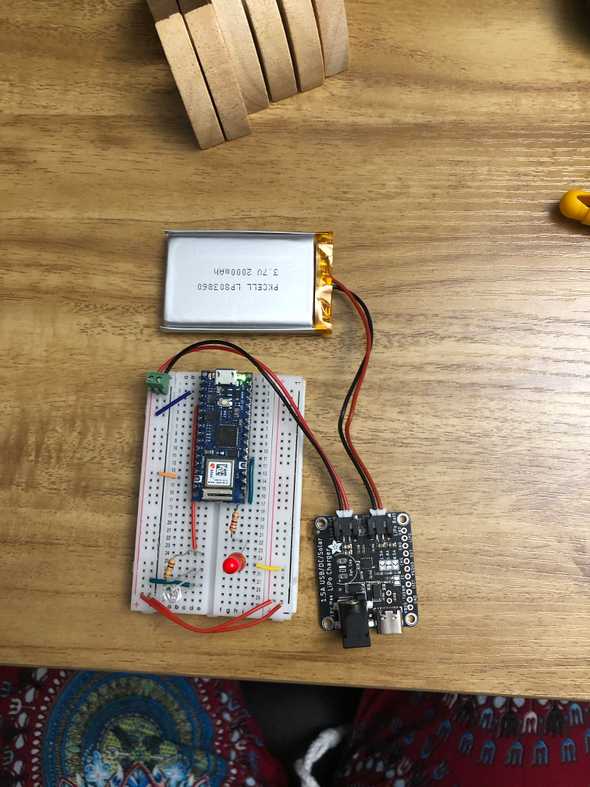
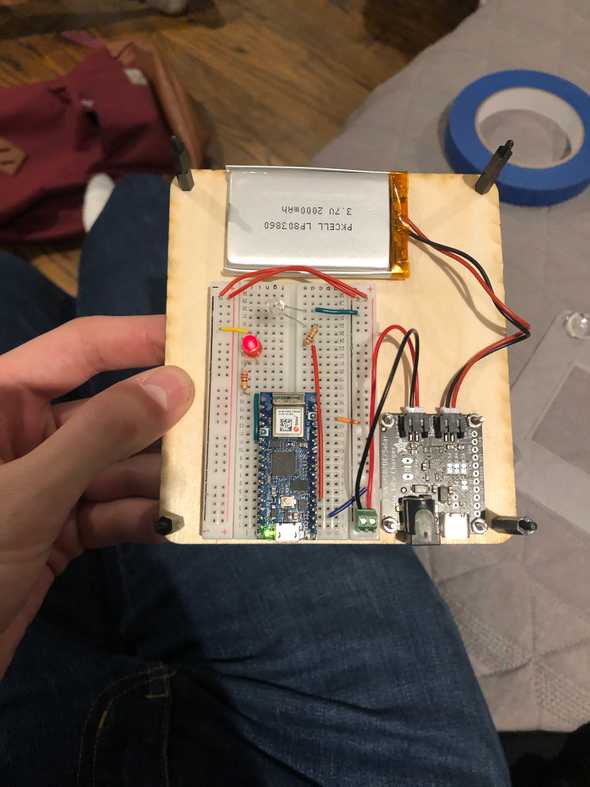
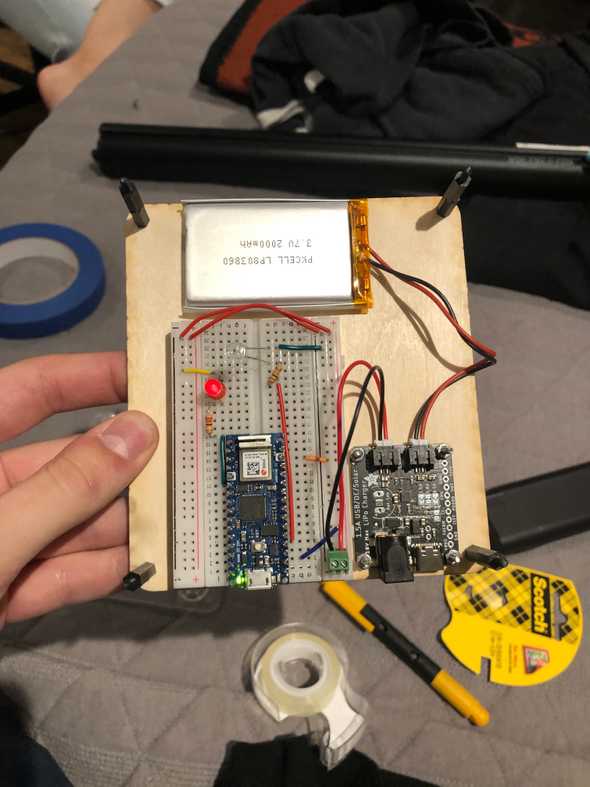
Recently, I have been working on a circuit that uses a solar panel to create near-constant uptime on an Arduino Nano 33iot.
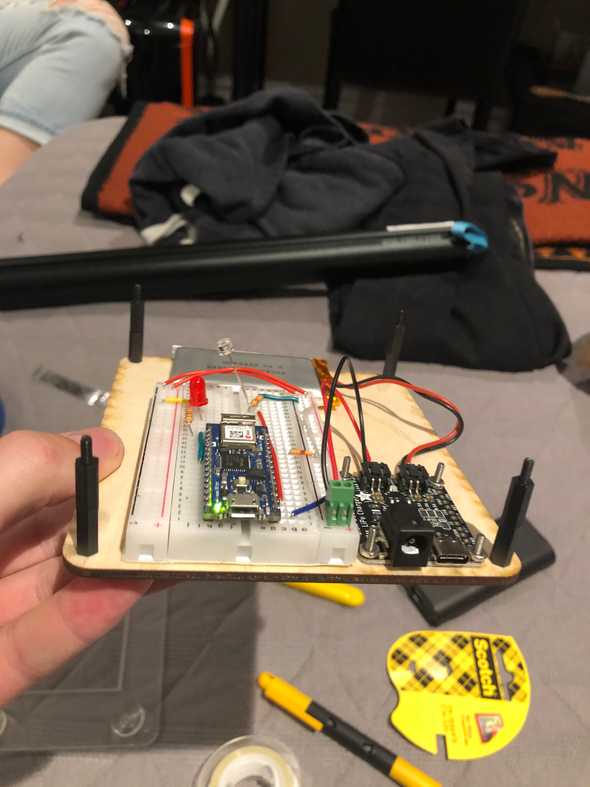
This project needs to be mounted to a window in order to get the sunlight it needs. Between this and the fact that I am still not done with the code, I decided an open concept where I could look at the components, take it apart quickly, and hold it together with standoffs, would be ideal.
First, I gathered materials:
- Wood (from last week)
- Diffused Acrylic (From week 1)
- Plastic Suction Cups
- Standoffs (from Digikey)
CAD
First, I had to take some measurements. I laid everything out in the orientation I liked, then measured enough room around it for the baseplates to be.
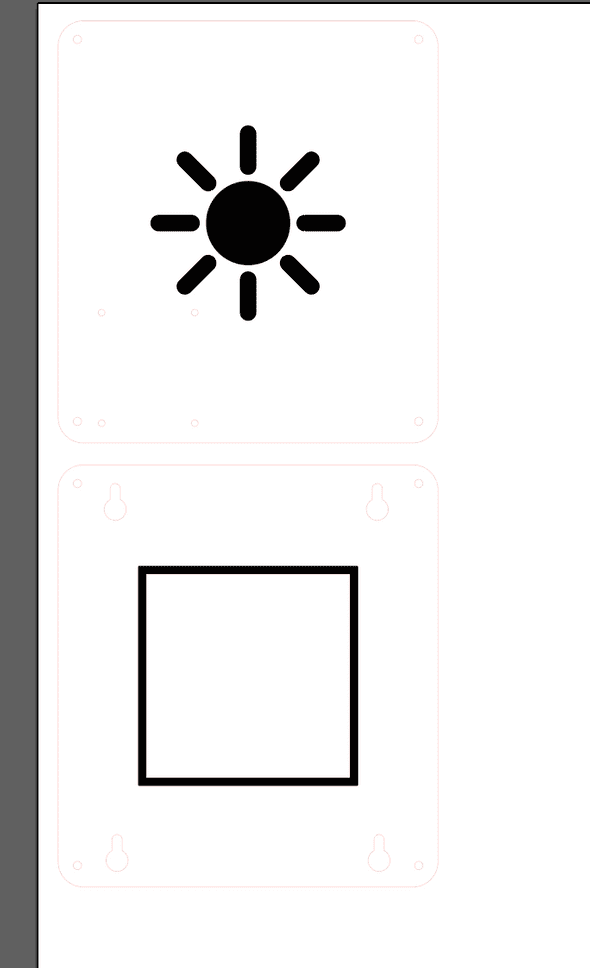
I pulled those measurements into illustrator and got to work.
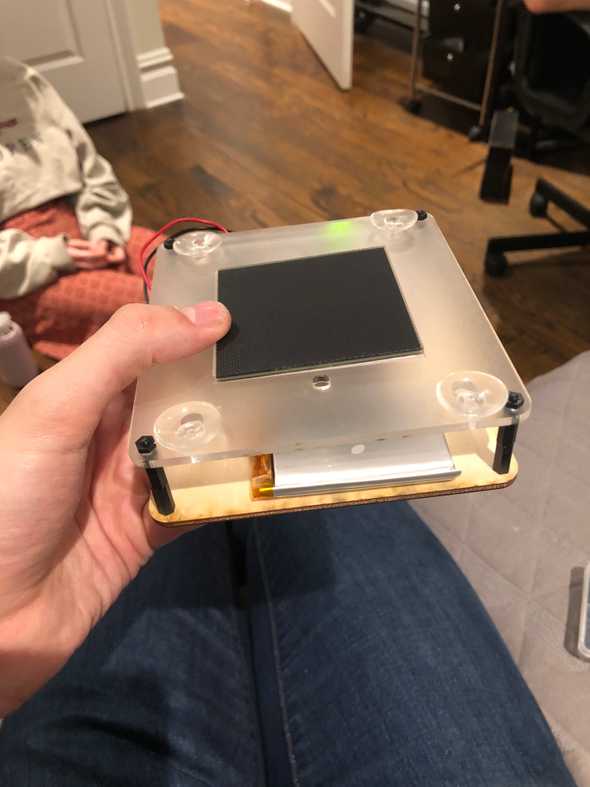
The plate facing the user was simple. I added an etch of the sun for aesthetic nice-ness, then cut out 2m holes and 2.5m holes for the standoffs and the solar charger.
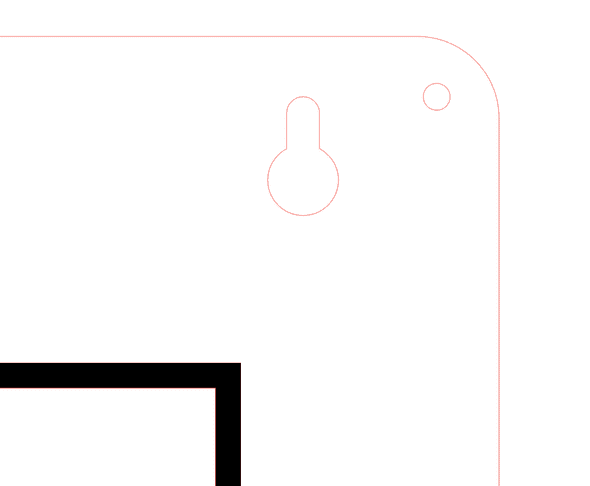
Then, I had to design a way for the plastic suction cups to fit into the piece. I ended up on the following design, which uses the diameter of the stopper and the diameter of the neck of the suction cup. It fits into the hole, then slides up. The suction is fantastic
Laser Cutter
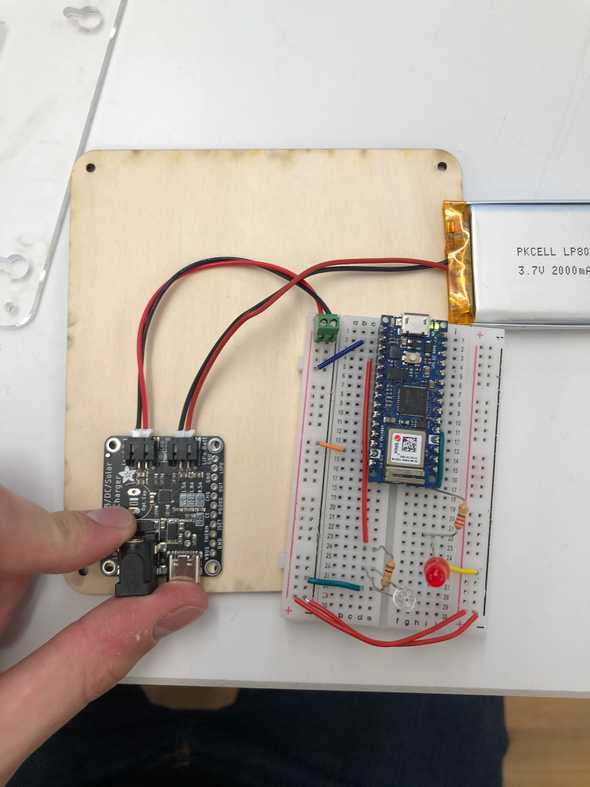
I then took these to the laser Cutter. I had to do 1 test print, adjust measurements, and then print again. After that, the shop closed and I was left with what I have (which fits great!).
In order to situate the solar panel into the acrylic, I kept etching out of the piece in order to recess the surface. This worked, but I eventually lowered the area of etch for speed, which actually caused it so that there is no effective way to adhere the solar panel to the acrylic.
Assembly
After this point, it was a matter of situating it all out and adding the standoffs, which fit perfectly into the device.
Written by Philip Cadoux, current ITP student and Creative Technologist. Follow me on Instagram
