Machine Learning for the Web - Week 05
October 12, 2020
Voice Activated Candy Dispenser
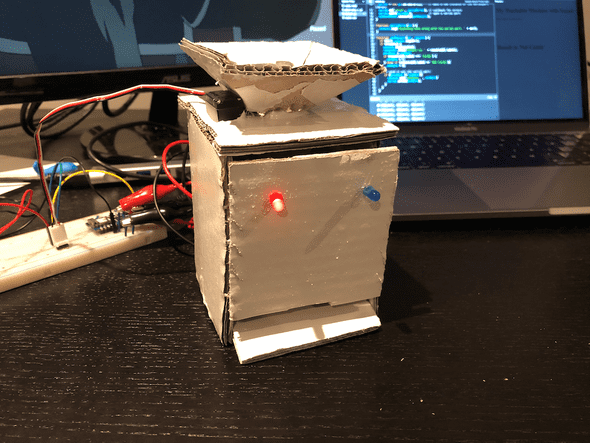
Final Product (slightly sticky from paint, dispenses better now)
P5 Sketch
Arduino Code:
#include <Servo.h>

Servo myservo;
int servoPin = 9;
int redPin = 2;
int bluePin = 4;

void setup() {
  pinMode(redPin, OUTPUT);
  pinMode(bluePin, OUTPUT);

  myservo.attach(servoPin);
  myservo.write(0);  // set servo to mid-point

  // start serial port at 9600 bps:
  Serial.begin(9600);
}

void loop() {
  if (Serial.available() > 0) { // if there's serial data available
    int inByte = Serial.read(); // read it
    Serial.println(inByte);
    if (inByte == 1) {
      myservo.write(0);
      // Light red LED
      digitalWrite(redPin, LOW);
      digitalWrite(bluePin, HIGH);
      delay(280);
      myservo.write(90);
    } else if (inByte == 2){
      myservo.write(90);
      digitalWrite(redPin, HIGH);
      digitalWrite(bluePin, LOW);
    }
    // Wait for 1 second
    delay(1000);
  }
}
Process
The first thing I new I had to do was get serial communication between the Arduino and my p5 sketch to work. This was not particularly difficult because of the tutorial given here.
I had some issues with downloading the SerialControler, but ended up downloading the proper package instead of trying to build it on my machine.
I do not have a video showing my working light-color switcher, but it worked out.
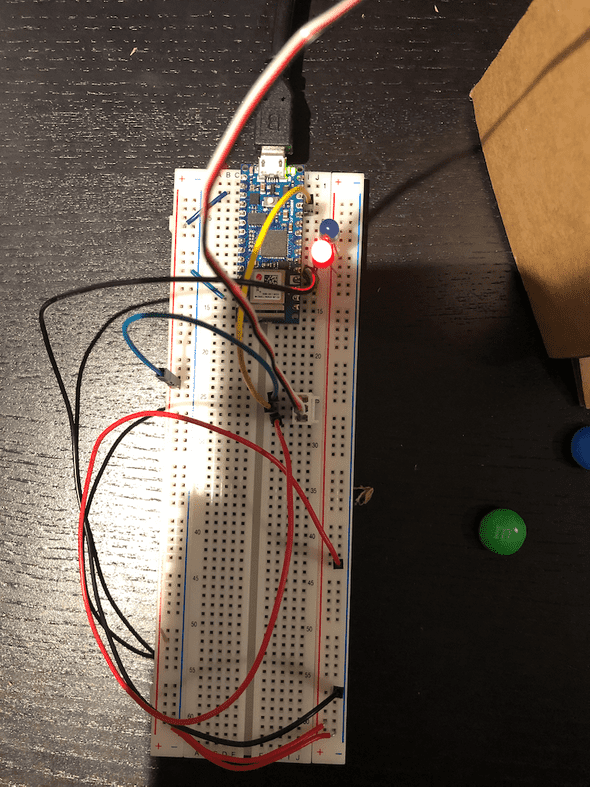
Next, I added the Servo motor, which produced this circuit:
After that, I needed to train my own Teachable Machine model to recognize background noise and “candy”. This immediately caused problems. I have had this issue before, but somewhere between the teachable machine training and the upload to the cloud, TM stops the model from actively recognizing background noise. What this caused was ANY human-created noise would trigger the circuit.
To solve this, I made a “not Candy” class that where I made noises and vocalized randomly. This produced an accurate result for Candy vs. Not Candy.
For whatever reason, however, I was unable to successfully update the model. No matter how many cloud syncs it did, the model would only have 2 classes. So, I just downloaded the sounds and re-created the model on a new link. This worked.
At this point, I started on the build:
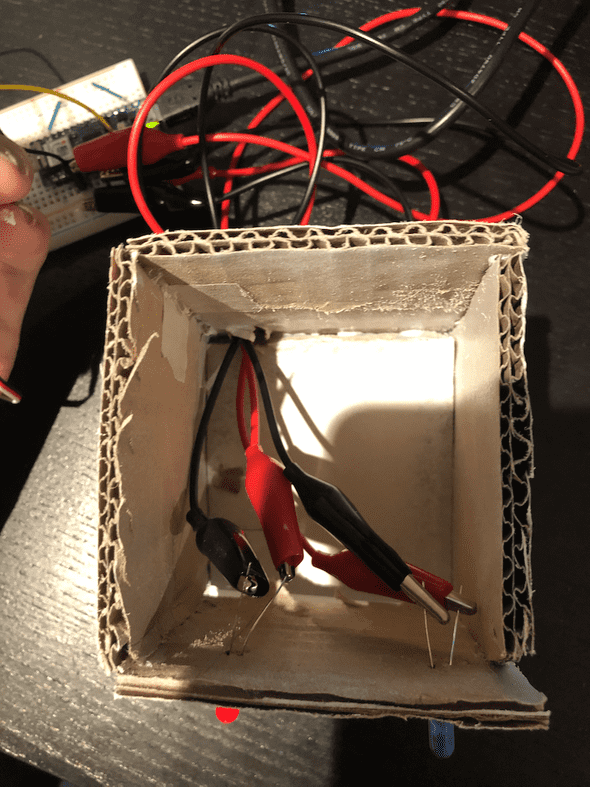
This is the cardboard only version of the device. You’ll notice the LEDs are directly in the breadboard and it is not painted (as opposed to the final). Here is the insides of the final product.
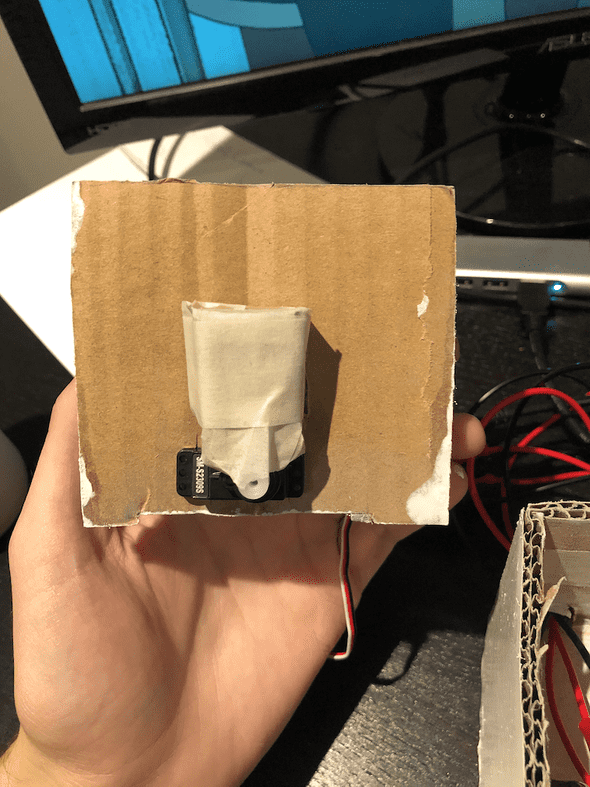
The way this works is very simple. There is a hole on top (just below the funnel), that is covered by a small piece of cardboard attached to a servo. When “Candy” is detected by the P5 sketch, arduino moves the servo 90 degrees, allowing candy to fall onto a platform that slopes out of the device.
Something I wanted to point out before I go is that having a “not candy” class causes a TON of outByte’s to pass into the arduino. This made it so that when “candy” was detected, it would either take time to process, or never actually trigger the device. I also managed to create the opposite problem at a point. Because of this, I set up some behavior within P5 to ONLY send the outbyte if it has changed since the last byte. This code is vital to the function of this piece, so I’ve pasted it here.
let outByte = 0;// for outgoing data
let prevByte;

function gotResults(err, results) {
  if (err) console.log(err);
  if (results) {
    console.log(results);
    resultDiv.html('Result is: ' + results[0].label);
    prevByte = outByte
    if (results[0].label === 'Candy') {
      outByte = 1;
    } else if (results[0].label == 'Not Candy'){
      outByte = 2;
    }
    // send it out the serial port:
    if (prevByte != outByte){
      console.log('outByte: ', outByte)
      serial.write(outByte);
    }
  }
}
Written by Philip Cadoux, current ITP student and Creative Technologist. Follow me on Instagram


